Hello I'm Azlina I love to design, make pretty handmade cards and exploring other crafts. Do support me on YouTube. I share a lot of quilling and craft tutorials there.
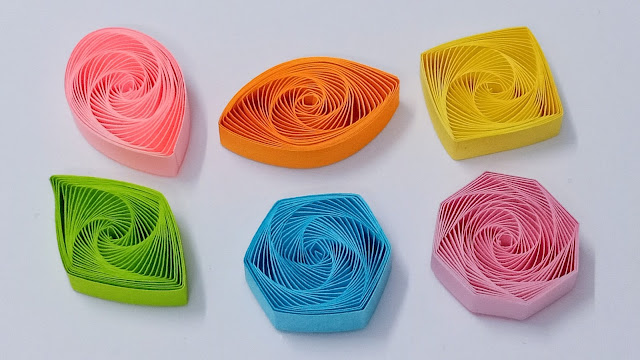
QUILLING VORTEX SHAPES - (TEARDROP, MARQUISE, SQUARE, DIAMOND, HEXAGON AND OCTAGON)
QUILLED STAR - QUILLING TUTORIAL
Hello everyone!
It's good to be back here again! I've got a new quilling tutorial for you guys. I'm a bit late in updating about this new tutorial. I uploaded the video on my YouTube channel a few days ago. Actually I got a request to do a tutorial on this quilled star from a lady named Jenny Hand from Facebook. She found a photo of a quilled star on Pinterest, but was unable to understand the directions on how to make it because it was in a foreign language. I didn't ask her what language it was or who was the designer. My mistake there, I should have asked.
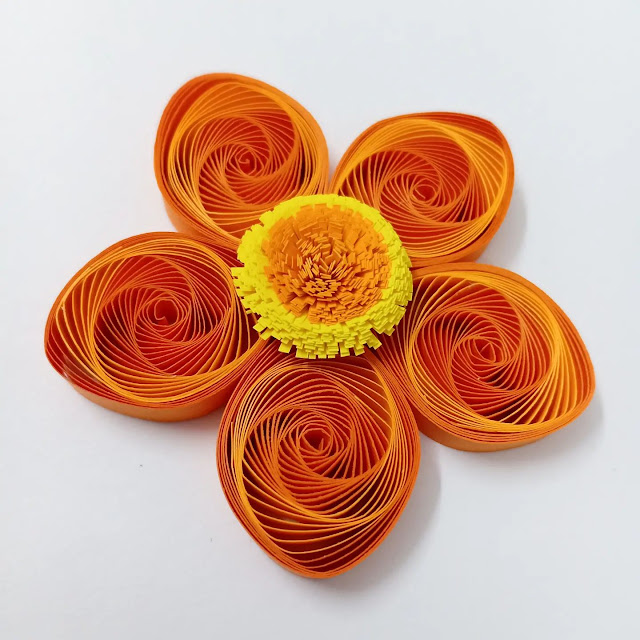
So, since the design is something I'm familiar with, because I've done the quilling combing technique before, and it's always used to make quilling flowers, I agreed to do this tutorial for her. The only difference from the original design is the colour and that I added the plastic rhinestone to make it look prettier. I'm so glad that I managed to make the video on time for her. I wasn't feeling too well lately, so it was good to be able to help her out. Glad she enjoyed the video. Hope you guys will benefit from it as well! :)
Do check out the video below! Thank you! :)
DIY Quilling Paper Organizer
Hello everyone!
I'm sorry I have been missing in action again but this time I guess I went a little to far. It's been months I know. I miss sharing stuff here.Today I have something I'm excited about to share with you quilling lovers out there. Especially quilling beginners who are on a tight budget and loves to recycle stuff like me. If that's you then you would appreciate this post very much.
I do wish that I had done this years ago when I was extremely active in quilling. It would have helped me tremendously with my work. Nevertheless I'm happy that I did it now especially when I am in the process of redecorating my craft room.This quilling paper organizer would definitely stand out.
I have always been having problems storing my quilling papers. I've been keeping them in plastic casings individually according to their colour and placed them all in baskets for years now. All jumbled up together, rarely neatly arranged, no matter how hard I tried. Always looking so messy in the baskets.
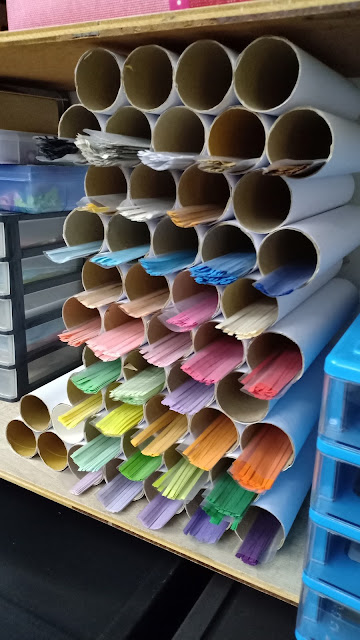
So for the past few months now, I have been collecting some empty kitchen towel tubes. They are relatively long enough for my quilling paper. I don't think that it's suitable for those really long quilling paper that one buys from craft stores.
My quilling paper are made from A4 printing papers. Although it is a little bit longer than the tubes, it's ok because the paper will be placed mostly in the tube itself. So even though the ends of the paper will be seen coming out of the tube, a major part of it will be in it. So the ends of paper won't bend. It will be laying straight along the tube. Each tube can fit hundreds of quilling paper. So I will have enough space for all my quilling paper from now onward. Awesome!
I made a video tutorial of how to make the organizer for the quilling paper and I uploaded the video on my YouTube channel. If you are interested to see how it's done, do check it out a the video below. I do appreciate it a lot. Thank you so much! :)
Featured Post
How to make two tone tear drop shape quilling flowers
We are coming close to mid February and I'm blogging about something that I did last January! LOL! It's been a month sin...

-
Hello everyone! I'm back with another quilling handmade card! After playing around and experimenting a lot with the 2mm a...
-
Hello again! I'm so delighted to share with everyone here about this quilling flower tutorial that I uploaded on my YouTube...
-
Hello everyone! How is everyone doing? I hope you are all in the best of health always. I'm back again here with another quilling tutori...


