Showing posts with label 3D Pop up stickers. Show all posts

I'm So Grateful For You - Die cut card


Hello everyone!
Today I want to share with you one of the 5 handmade cards that I made for the craft products review which I did this month on YouTube. This design is mainly made using die cuts! Kinda rare for me to just use die cuts as decorations. Usually I would mix it with quilling or other types of decorations. But this one is almost 99.99% made of die cuts. 


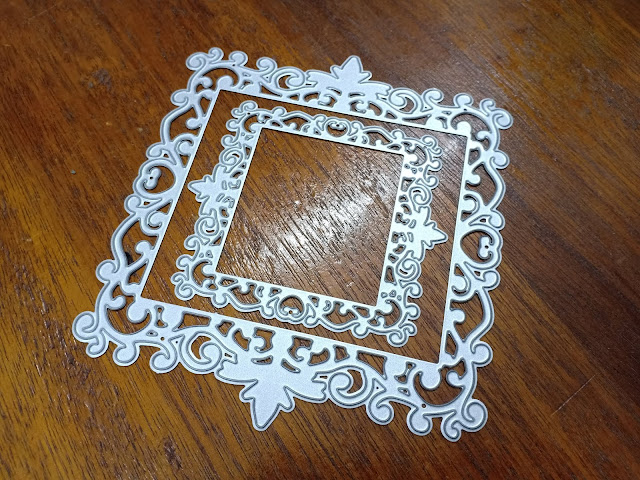
The floral frame die cuts that I used for the background for the card is made using dies that I received from In Love Arts Shop. Love it so much. First time ever for me to try to blending intricate die cuts with distress ink!! I really love the effect. The die cut looks like it's blended into the card itself since I used a red distress ink to match the colour of the card. 

The whole colour scheme and combinations are based on the die cut birds and roses. I really love them a lot. Too bad the shop where I bought them from don't sell them anymore. I can't even remember what year I bought them. Anyways, they are no longer in stock there. So I guess this card is a limited edition, LOL! Coz I can't make another copy of it.

The stamped sentiment is also from the same clear stamp set I got from In Love Arts Shop. I hope they will stock up more clear stamps that has handwritten sentiment designs like this. They are so pretty.

This card was done in just a few hours. That's why die cuts are great. It saves us time when we need to make a card in a hurry. When you already have the idea in your mind, you can make a card faster with the right materials. Easy to assemble and look fancy at the same time. ;).


Welcoming a new born baby boy


NB012

I got a request to make a new baby card for a new born baby boy and I was excited to try using those 3D pop up stickers that I bought last year.  I remember using something similar on a new baby girl card I did before. You can view that card at the link HERE. When I did that new baby girl swing card last year, I wanted to do a baby boy version of it too but never got around to doing it till now.


The design for both cards are more or like the same except for the colours and some minor details. I wanted the baby boy card to have the same polka dot pattern paper but since I didn't have one on hand, I decided to create my own using some teeny tiny dots made from a craft punch. I just love doing that on my handmade cards. I've done it so many times before. It's a good way to fill up an empty space and make it look more exciting and interesting.


I actually like to sew on felt but as usual I'm just too busy with other projects to do so. But for this card I do get to sew a bit on felt, just the eyelids and it was challenging especially since I don't have enough practice to make it look perfect. I couldn't think of any other way to make the eyelids except for sewing it. Drawing it using a pen is messy and is not pretty at all. So sewing is the way to go! :)

Since I was really rushing when I made the card, I never even get the chance to take a video of it. My digital camera conveniently ran out of battery at the time I wanted to do the video too! Just my luck! But I'll make another one of this card just for the video one day. Because it's a swing card and I like to show how it looks when it swings! ;)

Card in a box #3

HB118B

You must be thinking.....hmmmmm.....this design looks familiar, right? Well, of course it does because it's the same design I made for my first card in a box card last month. The only difference is the colour of the box which I had to change because my customer wanted a card that is in a red and black combination.

Actually I didn't have a red and black pattern paper with a similar design of stars on it. So I had to create my own with the red and black paper. The stars were handcut and pasted on the card one by one. Slow process but at least I get to do a similar pattern as the original design.

I also ran out of the 3D pop up stickers. Huhhuhu!!! So sad about that. The shop never restock them. Searched every where in Alor Setar but couldn't find it. So if anyone were to order this card again, I would have to figure out a replacement for those 3D pop up stickers.

I really enjoyed making card in a box.....they are so much fun! Do check out the video I made of this card. You can see how it opens up. Thank you! ;)

My first Card in a box!

I was taking some time off from work the other day, because I've been working like crazy since January with not much time to rest and I started browsing for new type of cards to make and I suddenly thought of making a card in a box. Been dying to make one ever since I saw them on Pinterest some time ago.

Sometimes I just need some other diversions to keep the mood for cardmaking going and keep on going. Because I'm the type who gets bored easily. Since I've been making a lot of swing cards already, so it was high time I change things a bit to give me some excitement.

From the time I saw the designs of the card in a box in Pinterest, I always thought that it was difficult to make. I figured it was the most complicated card I've ever seen. And it never occurred to me that we can actually fold it flat and insert it in an envelope. But when I saw the video tutorial on YouTube, I was blown away by the trick! What a fancy trick it was! That was what got me into this so instantly. I just had to make one the minute I saw the video. :)


I bought some fancy birthday 3D Pop up stickers recently and thought of using them for my first card in a box experiment. The pattern paper were given to me by a good friend of mine, Sandi Staley. Gosh I have loads of scrap pattern papers from her to use up for my card experiments! hehehe! ^.^


 Compared to other types of cards, this particular one involves decorating on almost all parts of the card. So it's quite a lot of paper to paste here and there...a lot of decoration to do to make it attractive. And since it will have a 3D look once opened, you gotta think of how it will look 360 degrees...all angles. The challenge makes me more driven to complete the card.

HB118

Do check out the video I took of the card so you can see how it transforms from a flat card to a box with pop ups in the center! That would perhaps get you excited to create your own first card in a box soon! ;)

Featured Post

How to make two tone tear drop shape quilling flowers

We are coming close to mid February and I'm blogging about something that I did last January! LOL! It's been a month sin...