Hello I'm Azlina I love to design, make pretty handmade cards and exploring other crafts. Do support me on YouTube. I share a lot of quilling and craft tutorials there.
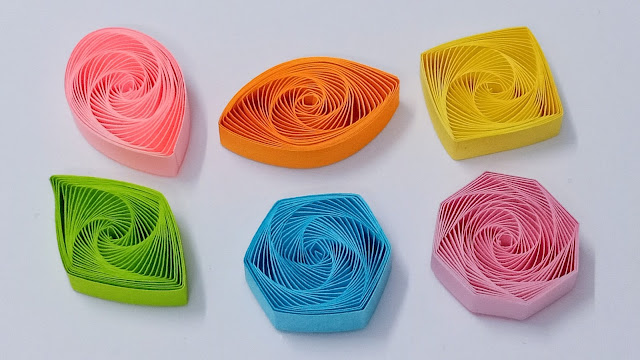
QUILLING VORTEX SHAPES - (TEARDROP, MARQUISE, SQUARE, DIAMOND, HEXAGON AND OCTAGON)
QUILLED STAR - QUILLING TUTORIAL
Hello everyone!
It's good to be back here again! I've got a new quilling tutorial for you guys. I'm a bit late in updating about this new tutorial. I uploaded the video on my YouTube channel a few days ago. Actually I got a request to do a tutorial on this quilled star from a lady named Jenny Hand from Facebook. She found a photo of a quilled star on Pinterest, but was unable to understand the directions on how to make it because it was in a foreign language. I didn't ask her what language it was or who was the designer. My mistake there, I should have asked.
So, since the design is something I'm familiar with, because I've done the quilling combing technique before, and it's always used to make quilling flowers, I agreed to do this tutorial for her. The only difference from the original design is the colour and that I added the plastic rhinestone to make it look prettier. I'm so glad that I managed to make the video on time for her. I wasn't feeling too well lately, so it was good to be able to help her out. Glad she enjoyed the video. Hope you guys will benefit from it as well! :)
Do check out the video below! Thank you! :)
Featured Post
How to make two tone tear drop shape quilling flowers
We are coming close to mid February and I'm blogging about something that I did last January! LOL! It's been a month sin...

-
Hello again! I'm so delighted to share with everyone here about this quilling flower tutorial that I uploaded on my YouTube...
-
Hello everyone! How is everyone doing? I hope you are all in the best of health always. I'm back again here with another quilling tutori...
-
Hello everyone! I have been "away" for quite a long time and some might think I was on "holiday" so to speak when in act...


