Hello I'm Azlina I love to design, make pretty handmade cards and exploring other crafts. Do support me on YouTube. I share a lot of quilling and craft tutorials there.
POINTY PETAL FLOWER - QUILLING TUTORIAL
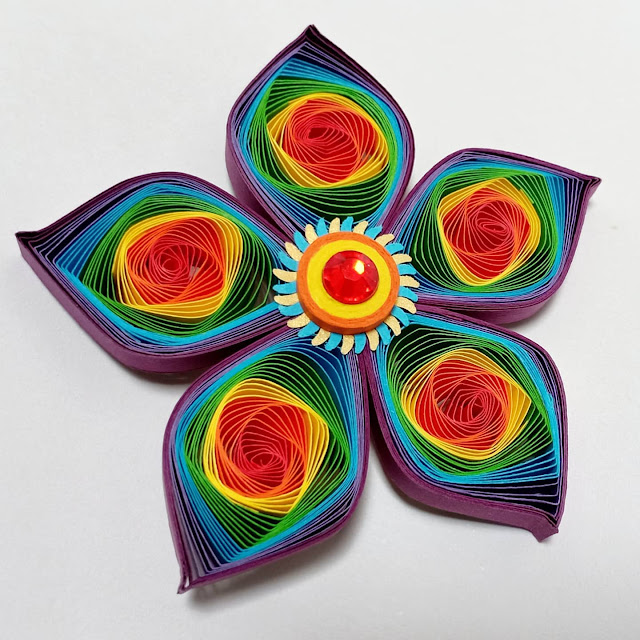
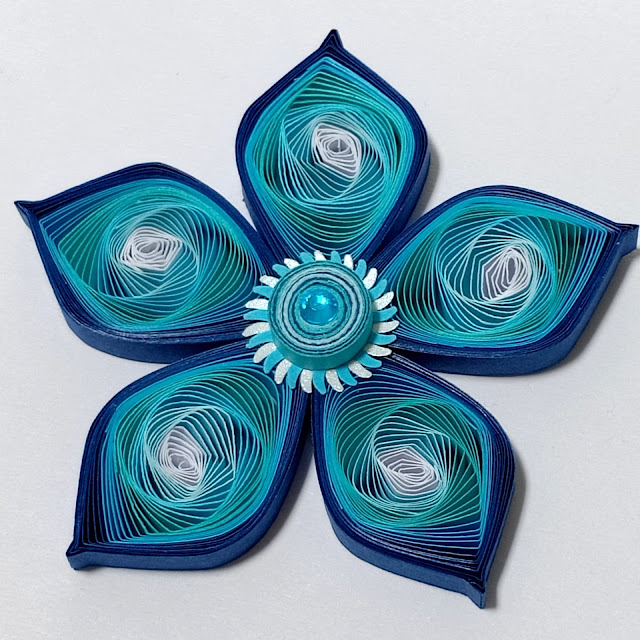
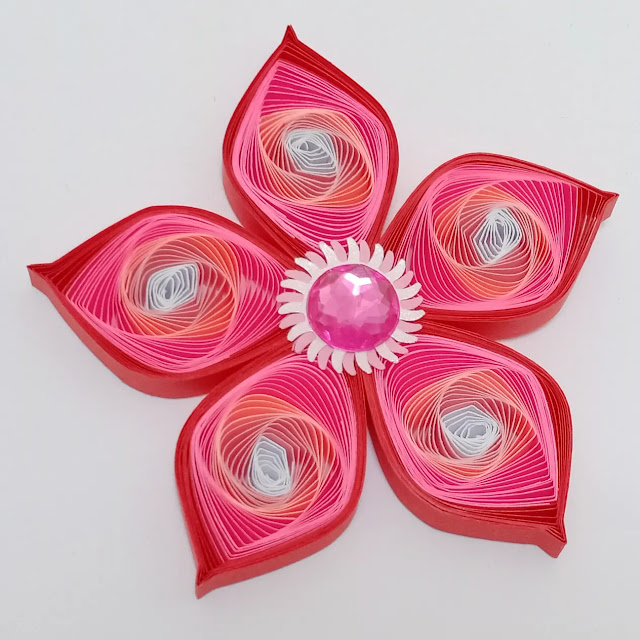
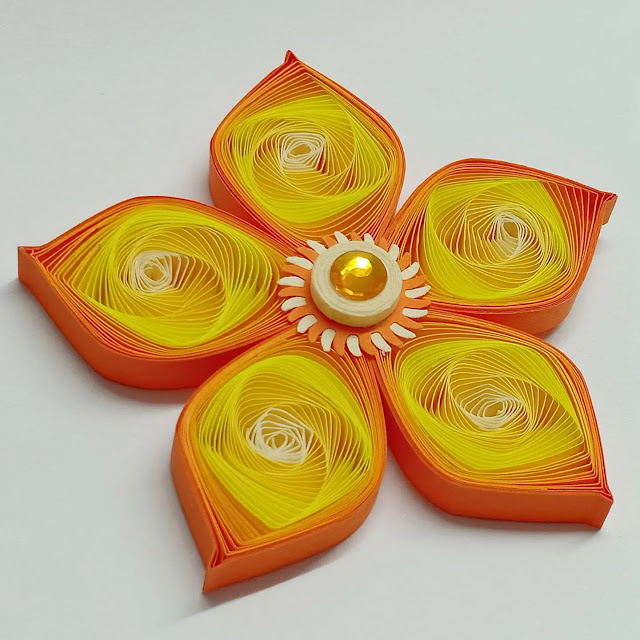
Large Twisted Loops Flowers - Quilling Tutorial
Hello everyone!
So I'm back with a blog post today after I uploaded a new quilling tutorial yesterday on my YouTube channel. I think it's been about 2 months or so since I last made a quilling tutorial there and I was working on another quilling tutorial but I decided to postpone that one and do this one first since this one is connected to the previous quilling tutorial that I did last August. It has something to do with the Twisted Loops and so I thought it would be better to do this one since you guys are familiar already with the Twisted Loops now.
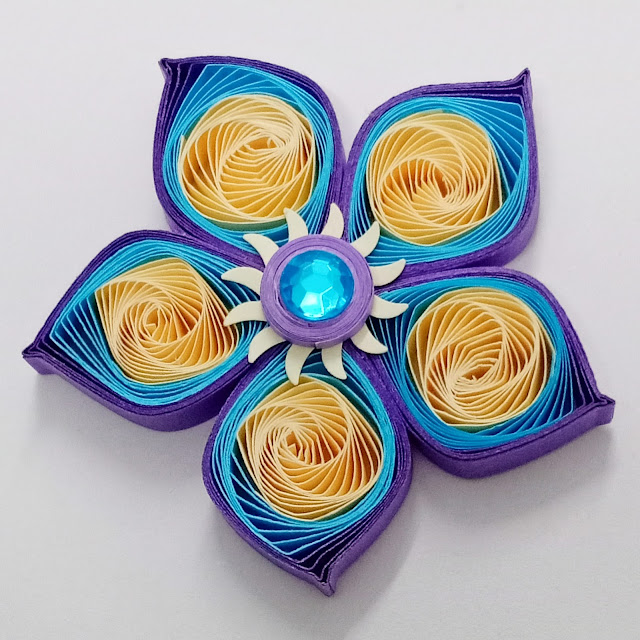
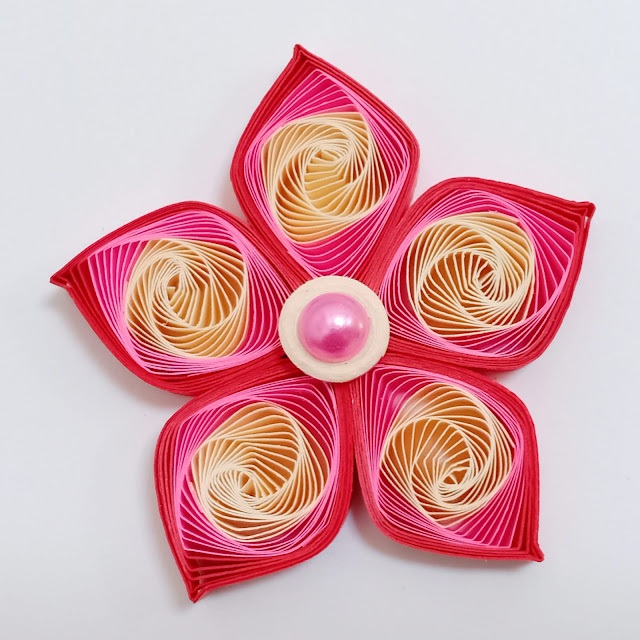
So here's the story on why I decided to do this tutorial now. As you can see, there are two different Twisted Loops flower design that I made in this tutorial and the blue one was inspired by a quiller I follow on Instagram by the name of hexiaoxiao57. Her flower design is absolutely beautiful. I tried to make it like hers but I don't think I even came close since I used a different type of quilling paper and a different way of making the fringe flower for the Twisted Flower as well. Like I said earlier I didn't plan on making this tutorial but, I had so many requests from my Instagram followers to do it. They wanted to know how to make hexiaoxiao57's flower like the blue one you see in the photo above. Maybe because of the Twisted Loops flower I did before, so they assume I would know how to make her flower design . I got tired of explaining to them how it's done and it's not easy to explain with words, it's a lot easier to explain through a demo via video. I'm not sure why they didn't ask hexiaoxiao57 themselves on how to make the flower. I myself have asked her to make the tutorial too but till now she hasn't made one. So I thought of making my own version of it so that my followers would have an idea of how it's done. It may not be as perfect as hexiaoxiao57's flower but at least it resembles it a bit.
I came up with the idea for the other twisted loops flower design, which is the peach coloured one after I made that blue flower design a few times and I really really love it a lot. It's different because of the way I twisted the loops of the petal. You'll see what I mean after you've watched the video tutorial. I made a few of that design in many colours already. Not sure yet at the moment what I'll make with them but I think I will make simple small cards with them, like Thank you cards or something like gift cards. Yes, that would be cute!
There are many ways to make the center part of the flower, it's all up to your imagination, it doesn't necessarily need to be a fringe flower. As from the photos above, you can see the different types of center part I made, but they're mostly tight coils and you can mix it with bling bling stone stickers. I'm just lazy as well to make fancy center part for the flowers. So I just made simple ones, Ha! Ha!
Anyways, I hope you'll like the tutorial once you've watched it and give the flowers a try. Do check out the video tutorial below and happy quilling guys! ;)
Twisted Loops Quilling Flower Tutorial
Hello everyone!
I have been "away" for quite a long time and some might think I was on "holiday" so to speak when in actual fact I've been extremely busy with a whole lot of work to do even though I'm just at home. During this awful pandemic, I have been spending a lot of time at home. I do most of everything online now. I did a lot of gardening as well for a year and now I stopped concentrating too much on that and focusing more on my craft work. Not that I didn't care about it before but this pandemic sort of made me lose my mood for it. I just didn't feel like doing any handmade cards or quilling or anything crafty for months. I was worried that I might lose complete interest in it but fortunately I came around.
I really really miss quilling the most and miss making handmade cards and other craft in my little craft room. I can't count how many times I went to my craft room and wished that I have the time to sit and create something there. It's only recently last month that I was able to do it. Alhamdulillah. So you see, not only did I didn't have the mood but I also didn't have the time for it. There is something lost and something gained during this pandemic, that's for sure. I have learned a lot through this tough times.
When I was able to get back to crafting again, I thought of what to make and it occurred to me that there are some of my old quilling designs that I made years ago which I felt I needed to explore more. So I went back to search of what I did before that I could do more with. One was the Twisted Quilling Leaf. I did a video tutorial on that one and it's on my YouTube channel, which you can view the tutorial by clicking at the link --> HERE. I've never made a flower design with this Twisted Quilling Leaf so I thought why not I give it a try.
If you have watched my Twisted Quilling Leaf video, you will see that I used 3 different colour quilling paper to make the leaf, so it's multicoloured. So for the quilling flower, I used 3 different colour quilling paper as well. The difference as you can see is that I wrapped each piece of the petals, which I didn't do for the leaf design. So that's the difference. This way, the petals look neater wrapped up with another piece of quilling paper.
As usual I used shredded A4 papers to make the flowers. I prefer to use this type of paper especially when I want to make tutorials. Because not a lot of people can afford to buy standard quilling papers and some might have problems getting them as well at their hometown. So using shredded coloured printing papers are always the best choice.
I have prepared a video tutorial on how to make this flower so that you can make them too. It's very easy to make especially for quilling beginners. Do check it out by clicking at the link --> HERE. Hope you'll enjoy it! Thank you! :) I also made a simple quilling leaf tutorial at the end of the video for quilling beginners. Just a simple two tone quilling leaf that goes well with the flower.
In the video I did mentioned that the colour combination I chose for the flower was inspired by the BTS song BUTTER. It's so true! I can't stop listening to that song ever since it was released. I love everything about the song, the colour concept, the song itself, the melody, the lyrics, the dance steps everything! I said I was kidding about the number of petals of the flower but actually I wasn't kidding at all! LOL! Seven petals did represent the seven members of BTS. I think this is the first time I made a flower with seven petals and I love it a lot! :)
I'm hoping to make more videos after this, preferably quilling tutorials. I already have something in mind but making a video especially a tutorial does involve a lot of time to get just one video done. It's always a struggle for me with my limited energy but I try to stay positive and have as much fun in the process.
HERE IS THE VIDEO TUTORIAL
⇓⇓⇓⇓⇓⇓⇓⇓⇓⇓⇓⇓⇓⇓⇓⇓⇓⇓⇓⇓⇓⇓⇓⇓
QUILLING LOVE BIRDS - QUILLING TUTORIAL
How to make the 235 quilling flower
Hello everyone!!
Making quilling papers with the pasta machine - REVIEW
I only have a manual paper shredder and it only cuts 3mm paper strips. If I wanted other sizes, I would have to cut the paper with a craft knife. I do wish that there is a machine that could cut other sizes as well. That's why I wanted to try the pasta machine. So I went to searched for it in town and found a cheap one that I could try at home. I wish there was a better quality one here but I couldn't find one. In this post, I just want to do a little review on the product and share with everyone my experience using it.
As you can see from the photos above, I really love making those leaves using the 2mm strips. I could also make it look like a 3D leaf and yet it doesn't look so bulky. That's what I love about it! Awesome!
I also made small little flowers with the 2mm strips. I really love them! They will compliment the bigger flowers really well. I've always wanted to have different quilling paper sizes for different purposes and now I can make it happen because of this machine.
I cut the 5mm paper strips and made bigger sized flowers with them. It's nice to make flowers with different size strips. I'm so used to using 3mm paper strips for so many years so it was nice to be able to cut a lot of 5mm strips at one go and work with them.
All in all, I don't regret buying this machine but I don't necessarily recommend it to anyone especially if you don't have the patience and don't like rough edges on the paper strips. The machine has helped me cut the 2mm and 5mm strips that I wanted even though it does have some rough edges. I really don't mind it that much because I'm used to the rough edges already. I've been making quilling cards using shredded quilling papers with rough edges for 10 years now and it has not stopped me from being creative. Hope to make more interesting quilling shapes with the new quilling papers!
Do check out the video below to see how I use the pasta machine. Thank you!
Celebrate Your Day - Quilling card
If you are interested to purchase the metal cutting dies and clear stamps, below are the links to each product I shared here. Do use my discount code FSAZLINA to get 15% off each product.
Want to learn how to make the quilling flower on this card? Play the video tutorial below and watch how I make it. Happy quilling! :)
Featured Post
How to make two tone tear drop shape quilling flowers
We are coming close to mid February and I'm blogging about something that I did last January! LOL! It's been a month sin...
-
Hello again! I'm so delighted to share with everyone here about this quilling flower tutorial that I uploaded on my YouTube...
-
Hello again! It's March 2018 and I have been busy the past few weeks with lots of things. Early this year I was so obsessed wit...
-
Hello everyone! Yes, believe it or not, it's now time for giveaway no.5!! Wooooohoooooo!! :D This time around, I didn...