Rainbow heart - Quilling Tutorials


Hello everyone!
Good news, I have two quilling video tutorials to share with you guys today and some photos of handmade cards that I made using those quilled rainbow hearts! Yay! For those of you who subscribed to my YouTube channel, you probably have already seen the video tutorials before I published this post. LOL! So for those who haven't subscribed yet, please do so in order to get fast notification whenever I upload a new video. :)

The first rainbow heart quilling tutorial that I made, showed me making a quilled rainbow heart using a quilling husking board. I made a lot of the quilled rainbow hearts last year. It was very easy to make anyways and looked pretty nice on cards. So I made a lot of them for stock. I wasn't sure if people wanted to learn how to make it because it was so simple. But I was surprised that there were people who made requests for it. So since many wanted to learn, I decided to teach! :D

But then, not everyone owns a quilling husking board. So for those people, I made another video just for them. Now everybody gets the chance to make quilled rainbow hearts. No more excuses for not making one anymore :D.


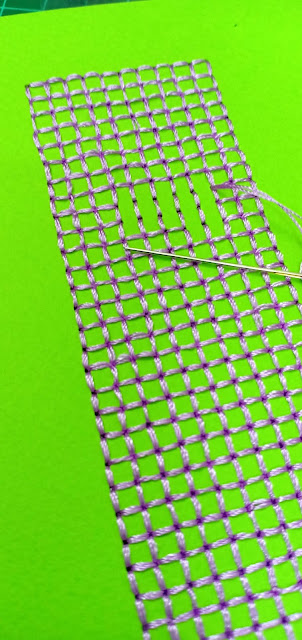
I love stitching on cards! So for both cards, I stitched repetitive patterns and used only single colored threads. Less complicated. But time consuming nonetheless. Especially the card with the white stitches. That one took the longest to complete. Not sure if I'll ever do that one again in that size. Maybe I'll make the cross stitches a little bigger next time. I love the transparent stickers too! It allows us to see through the stitches. 

Anyways, do check out the videos below. I'm sure you'll enjoy quilling rainbow hearts a lot after this. I love using them for my handmade cards. Great for any occasion. Happy quilling everyone! Thanks again for watching my videos ;).


Sewing on paper for beginners


Hello everyone!
As promised, I made this very basic video tutorial explaining how I sew on paper and use them as part of the decoration on my handmade cards. Most of you would know how much I love sewing on paper for many years now but most of the sewing that I did before were pretty basic and simple. I wasn't brave enough to do a more complicated design until I figured things out and realised how easy it is to do it given the right method.


All these years, I've been doing it wrong until recently I started using graph paper. Graph paper is a fantastic medium for sewing on paper because it has all those guide lines all ready on the paper. All that is needed for me to do is decide on what design I want to do and mark them on the paper. Once they are marked, I simply just pierced the graph paper through, which will also pierce together the card stock underneath it. The graph paper is especially wonderful if we want to do cross stitch designs. I love cross stitch!


There's just so many designs you can choose from and apply them on the card and sew. Free ideas and patterns are available in embroidery books or on the internet. Thousands to choose from! There is no limit to what you can do with sewing. I love using ideas from cross stitch books or embroidery books. So many inspirations there. 

You can add beads and sequins too! Just like how I showed in the video below. If you haven't seen my previous post "Stitching on cards", do click on the link HERE . I posted a lot of photos of my work there where I did a lot of cross stitch and simple embroidery on cards. Do check out the video below to see how I begin sewing on paper/cards and how I end them. It's a little different compared to sewing on fabric and so therapeutic too. Hope you will give it a try yourself. Thank you for watching! ;)


Featured Post

How to make two tone tear drop shape quilling flowers

We are coming close to mid February and I'm blogging about something that I did last January! LOL! It's been a month sin...