Hello again!
I hope you are not disappointed to see me updating my blog with a post that's not related to quilling or handmade cards. I guess I'm taking some of my free time from card making and quilling to pursue my joy in other types of craft. I want to make this year, a year about learning and experimenting on new crafts and expanding my skills.
Anyways, this year, after finding joy in knitting, I wanted to also find back the joy in weaving. Knitting, crocheting and weaving, all use the same the material, which is yarn to make scarves, sweaters, blankets or whatever we like with them. So after starting the year with knitting, I thought of weaving or maybe after that, try my hand at crocheting too, which I have also tried many years before but was not really good at it. Who knows, maybe this time, I'll be much better at it right? Hahaha! God willing!
I believe this is not my first time experimenting on weaving. I've tried it a few years ago but on a very small A4 size diy loom made of mounting board. Not sure if I blogged about it here. Tried to find a post about it here but failed. So maybe I didn't write about it here after all. But I'm sure I post about it on Instagram or Facebook back then. It was not continuous weave though....but it was the conventional weaving method (which I was not good at! LOL!)
So, after I tried my hand in knitting two scarves, I wanted to try weaving one too. I went on a search on YouTube (as always hahahaha) to look for tutorials on how to weave it and found one particular tutorial that I find really interesting. Interesting because of the method of weaving! They called it the Continuous Strand Weaving Method! Probably because, you don't have to cut a certain amount of yarn to start weaving. You can continuously use the whole ball of yarn for the whole project. That was one of the reasons why I liked it and also because, I don't have to worry about the sides of the weave curving up as I weave. Usually that would be one of the main problem that I face every time I weave. So this technique solves all the problem I had with weaving.
As you can see from the photos and video above, I didn't have to cut the yarn at all. I just continuously weave the yarn from the bottom of the loom up till the end of it. And on each side the edges were even. I really LOVED that!! It's so difficult to get a really even edge when you do the conventional weaving method.
After all the weaving is done, I would take out the pins one by one and then, I would use a big crochet hook to join up all the loops around the scarf. This will seal the weave and complete the scarf. You can see how I do it from the video above. :)
Although in the beginning of the weave, there were already some fringe on both ends of the scarf, I added more of it once the weaving is completed. This is because, there were not enough fringe and it looked so loose. So since there were still a lot of the yarn left at hand, I added more to it to make the fringe look more thick.
I made this scarf the same length as the board, so that means, it's not that long. Compared to the knitted scarf I made before, this one is pretty short but it's the average length of a scarf. The weave is about 43 inches long and plus the fringes on both ends that has a total of 12 inches long, that makes the scarf, 55 inches long altogether. The width of the scarf is about 5 inches. So it's not that wide and long but good enough to go around the neckline and hang on the back and front of the body.
I will definitely try to make another scarf with this method but it will be a more challenging one and with wider and longer loom. It takes a shorter amount of time to do a simple weave like this compared to knitting, so I will definitely try this again. I already have an idea of how to do it. ;)
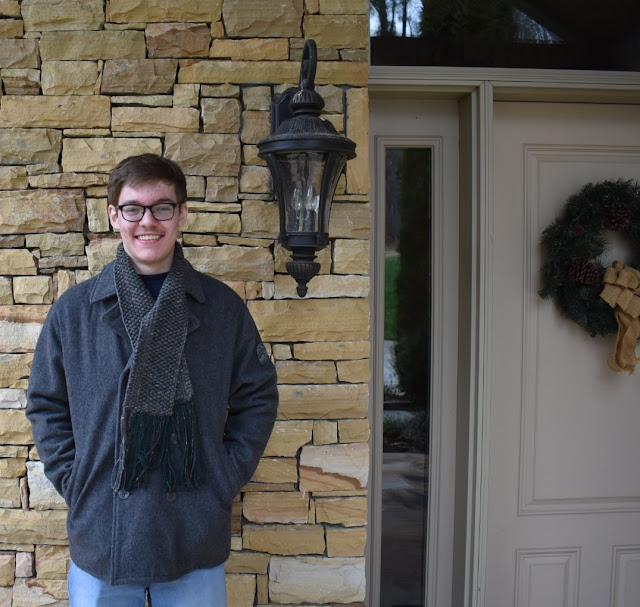
22.2.2020 - This woven scarf now belongs to Jed! Made this scarf for him way back in 2018 and yet he only received it 2020. I was supposed send it together with the knitted scarf I made for his Mom but I didn't get the chance to get it done on time. Anyways I am glad I get the chance to see him wearing it and gosh he is all grown up now! A fine young man he is. I first knew him when he was still wearing diapers! I'm feeling really old right now, LOL!


